
GIB Stopping Auckland Process and Choosing a GIB Contractor
When it comes to internal plastering, GIB accounts for up to 97% of all plasterboard used in New Zealand, making it one of the most dominant building material brands in the country.
When embarking on any house renovations, GIB stopping is a fundamental stage in the construction process in achieving a smooth and flawless interior finish for your walls.
Whether you’re renovating, repairing damaged walls, or building a new build, high quality GIB stopping ensures your walls and ceilings look perfect once painted. Many homeowners search for the best GIB stopping Auckland, GIB plastering, drywall GIB stopping, and GIB stopping contractors because the quality of this work directly affects the final appearance of their home.
This guide explains the GIB stopping process, what to expect from a professional GIB stopper, and how to choose the right contractor in Auckland.
What Is GIB Stopping? (GIB Stopping Auckland Overview)
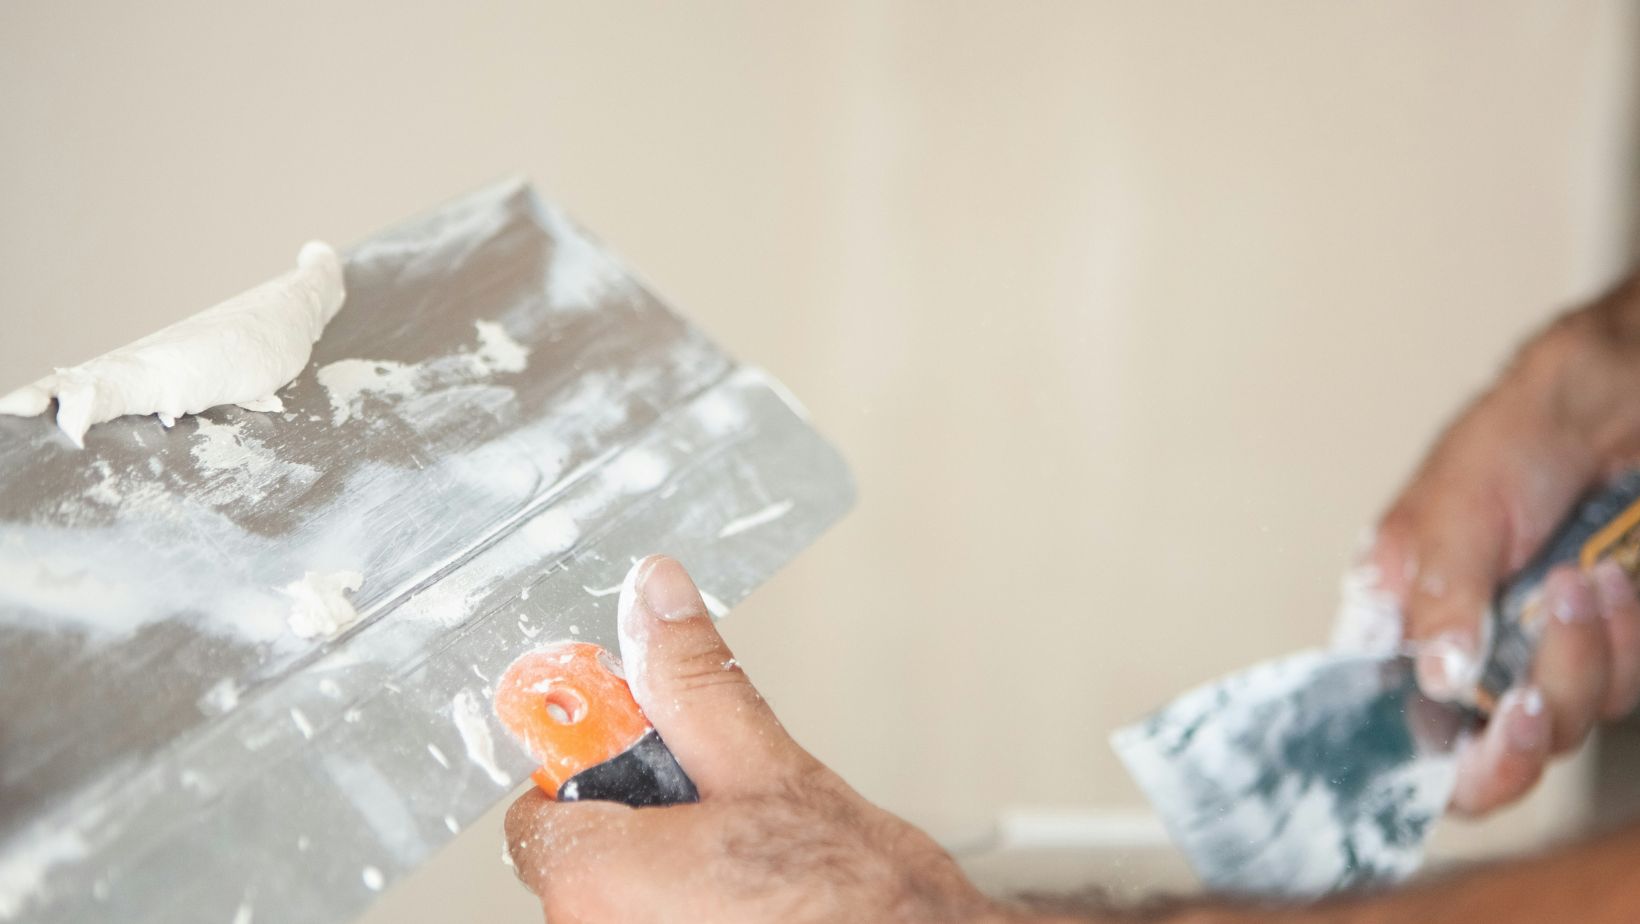
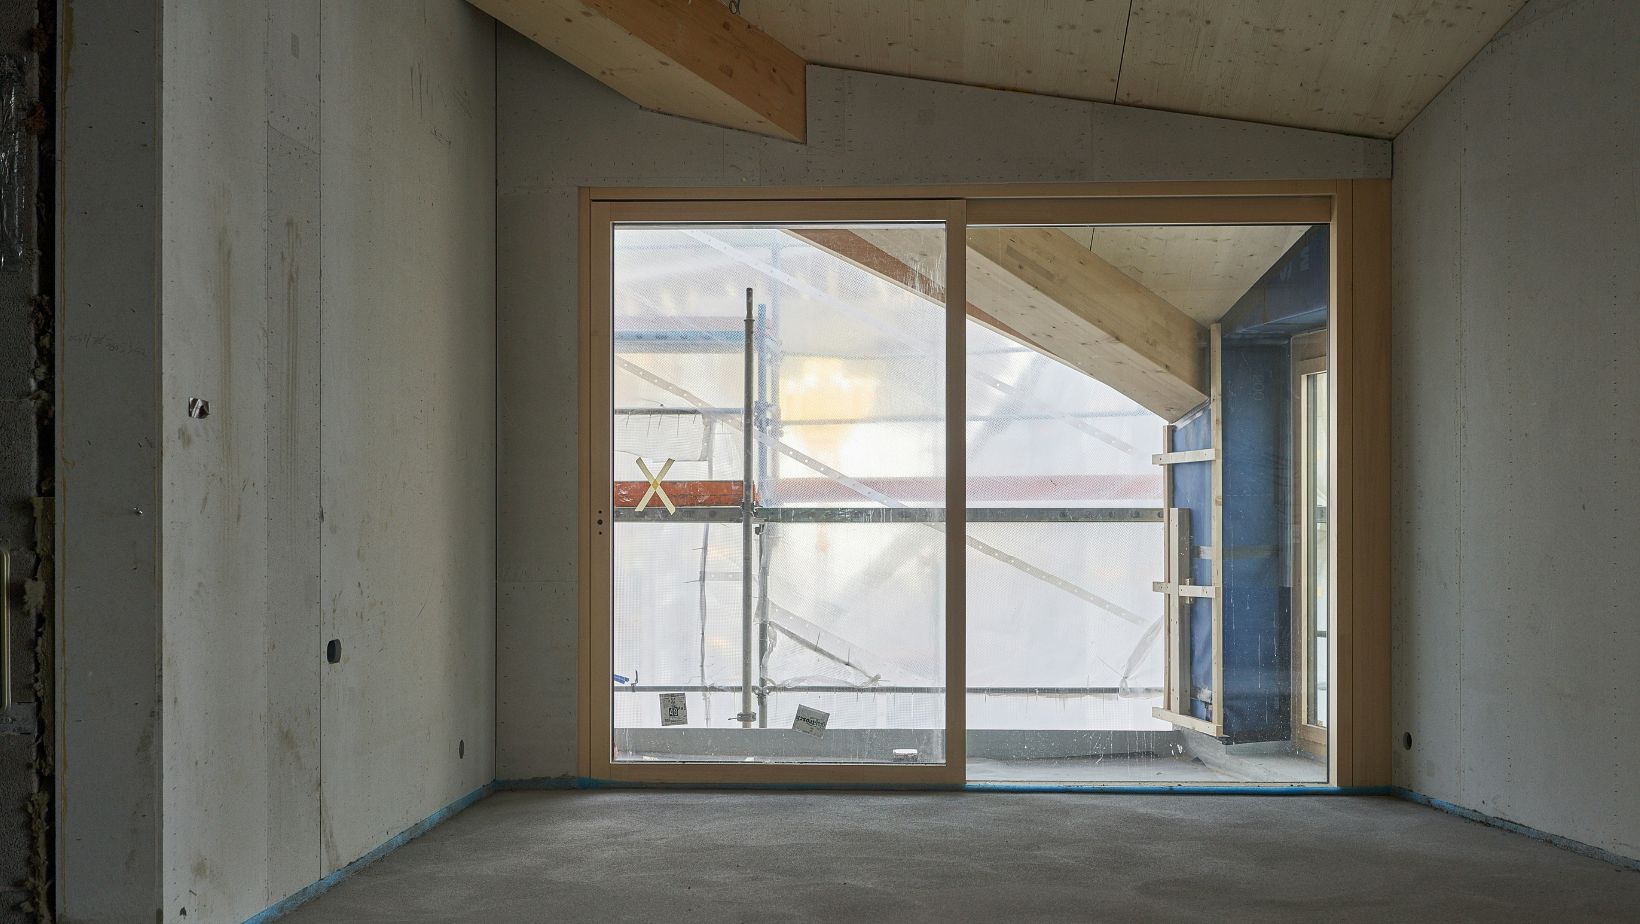
GIB stopping is the process of finishing plasterboard joints, corners, screw holes, and edges to create a smooth, paint‑ready surface. In Auckland, GIB stopping is used in; new home builds, renovation projects, home extensions, ceiling replacements, internal wall repairs, water damage restoration as well as re‑lining older homes. It can also be part of adding insulation to a home.
A professional GIB stopper uses joint compound, tape, and multiple finishing coats to ensure the surface is perfectly smooth. When done correctly, you should never see where one GIB board ends and another begins.
If you’d like more information about ‘What is GIB stopping?’ Read our recent blog; What Is GIB Stopping? A Simple Guide West & Sons Construction North Shore
The Full GIB Stopping Process (GIB Plastering & Drywall GIB Stopping)
Understanding the process helps you recognise quality workmanship. Professional GIB stopping Auckland services follow a structured, multi‑step method:
1. Joint Taping and First Coat (Drywall GIB Stopping)
The GIB stopper applies joint tape over all seams and covers it with the first layer of compound. This seals the joints and prevents cracking. Screw holes and internal corners are also filled at this stage.
2. Second Coat (GIB Plastering)
As part of the internal plastering process, a wider coat of compound is applied to smooth the joint and blend it into the surrounding GIB board. This step is essential for hiding seams and creating a uniform surface.
3. Third Coat (Finishing Plaster Coat)
This coat is feathered out even wider to create a seamless transition. For high end finishes, a skim coat may be applied across the entire surface to achieve a perfectly smooth result.
4. Sanding and Surface Preparation
Once dry, the plastered surface is sanded to remove any imperfections. This is where experience and craftsmanship is impotent, poor sanding leads to visible lines, ridges, and uneven textures.
5. Final Inspection and Touch Ups
A professional GIB stopping contractor checks the surface under strong lighting to ensure it is completely smooth and ready for painting.
This multi stage process is why GIB plastering and drywall GIB stopping require skill, patience, and attention to detail.
Why Quality GIB Stopping Matters in Auckland Homes
With an ever changing and coastal climate, Auckland homes often experience humidity changes, movement, and temperature fluctuations. Poor GIB stopping can lead to; cracks along joints, visible screw pops, uneven surfaces, shadowing under paint, peeling or bubbling as well as noticeable lines after painting.
Top GIB stopping Auckland services ensure your walls stay smooth and durable for years. It also improves the final paint finish, making your home look professionally completed.

How to Choose the Right GIB Stopping Contractor in Auckland
Choosing the right contractor is essential for achieving a flawless finish. Here’s what to look for:
1. Experience With GIB Stopping Auckland Projects
Local experience matters. Auckland homes vary widely, from older villas with uneven framing to modern builds requiring high level finishes. A skilled GIB stopper understands these differences.
2. Ask About GIB Stopping Levels
A professional should explain the difference between Level 4 and Level 5 finishes and recommend the right one for your project.
- Level 4 GIB is standard for most homes.
- Level 5 GIB is ideal for areas with strong lighting or large flat surfaces.
3. Check Their Process and Materials
A reliable contractor uses high‑quality joint compounds, tapes, and sanding tools. They should also follow a consistent multi‑coat process.
4. Look for Clear Communication
A good GIB stopping contractor explains timelines, preparation steps, and what you can expect at each stage of the project.
5. Ask About Guarantees
Professionals stand behind their work. A workmanship guarantee shows confidence in the quality of their GIB stopping.
Signs You Need GIB Stopping or GIB Plastering Repairs
If you notice any of the following issues, it may be time to call a professional:
- Cracks along joints or corners
- Sagging or uneven GIB
- Water damaged plasterboard
- Screw pops
- Peeling paint over GIB joints
- Visible lines after painting
- Bumps or ridges under paint
These problems are common in older Auckland homes and can often be fixed with targeted GIB plastering or drywall GIB stopping repairs.
GIB Stopping Auckland
High quality GIB stopping is essential for achieving a smooth, durable, and professional interior finish. Whether you’re renovating a single room or completing a full home upgrade, understanding the GIB stopping process and knowing how to choose the right GIB stopping contractor in Auckland will help you get the best results.